So there has been alot of talk in North Country Crafters about tent weights...
... how big? ...what weight? ...to hang or not to hang? ...water/sand/concrete?
I've done alot of digging online.. read alot of tutorials and specs.. discussed the idea with my Dad and we came up with something. They are currently curing and I'm thrilled with them.
There were our materials:
(1) 10 foot long, 4 inch pvc pipe (the lightweight kind, not schedule 40 kind)
(8) flat pipe caps (4 inch)
(1) 80 pound bag of sacrete
(1) can of pvc cleaner
(1) can of pvc cement
(8) 24 inch heavy weight bungee cords
The total cost for this project was about $67, which is pretty on-par with most of what I had read... $47 for the supplies and $20 for the 8 bungee cords.
Here's what we did:
Check the pipe, one end will be flared out (where it would connected to the next pipe if being used like that). Measuring out from the non flared end, cut the pipe in (4) 2 foot sections. You will have one extra 2 foot piece left over with the flared end.
The caps we used are flat ended (with slightly rounded edges). There were rounded end caps but they were very heavy and almost $8 each, so this option was more cost effective and worked just fine.
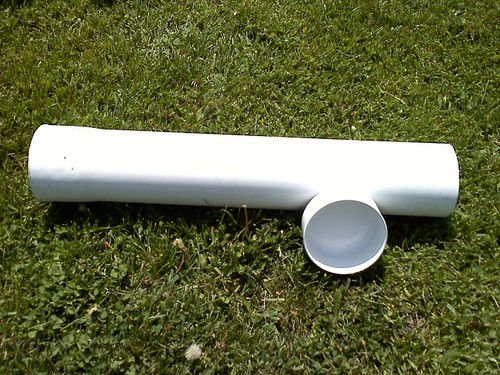
We got the lighter weight pvc pipe that was stacked up on the back wall at Lowes rather than the heavy schedule 40 stuff that was stacked up in the plumbing section. You could use either, but in this case the lighter pipe was more cost effective, lighter and as Dad said, basically all you are really looking for is a mold to shape the concrete. The most I can safely lift is 25 pounds, so this works out perfectly for me.
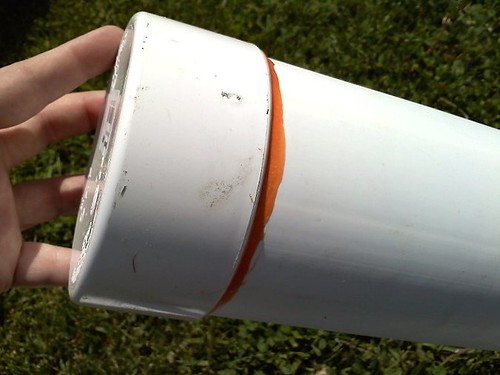
After cutting the pipe and setting aside the flared section you put the end caps on. First, clean the ends of the pipe (and inside sides of the cap) with the pvc cleaner so it will hold a better seal. Next apply the pvc cement to the outside of the pipe and the inside sides of the cap. Put the cap on securely and turn it 1/4 turn.
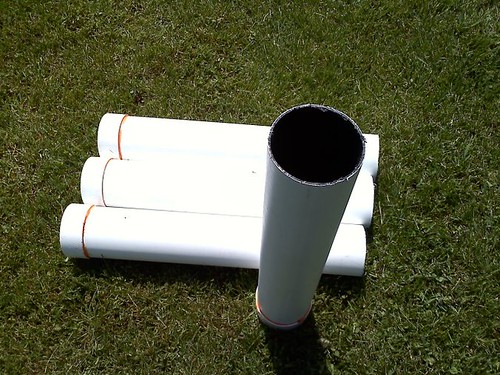
Here you can see the pvc cement is the orange stuff. The cement will be a little rubbery at first but then it will take hold and lock tightly.
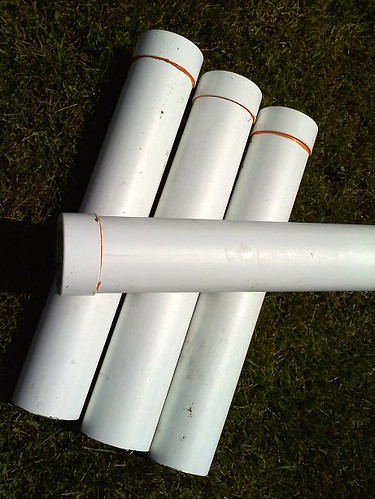
After the pvc cement is dried, you have 4 tubes ready to be filled.
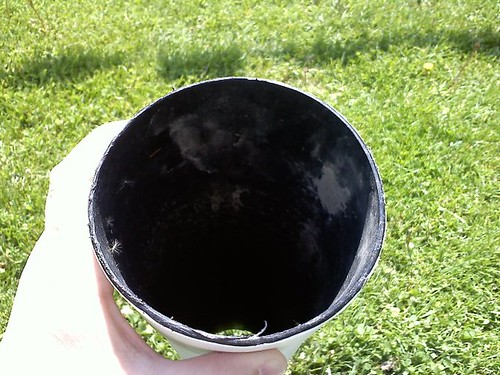
The ends are just cut and unfinished but its not an issue. The caps still go on just fine.
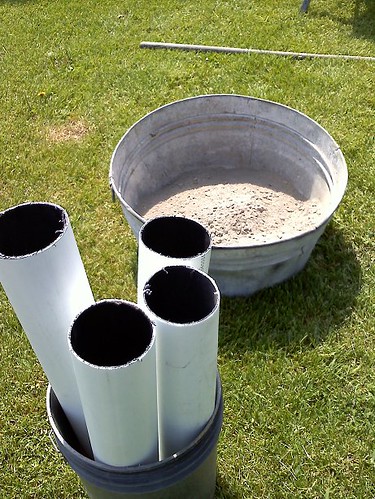
Either tie/bungee your tubes to a stable object (like a support beam) or stick them in a container to keep them upright for filling & curing.
This is the whole 80 pound bag of sacrete (concrete mix) its the just add water kind.
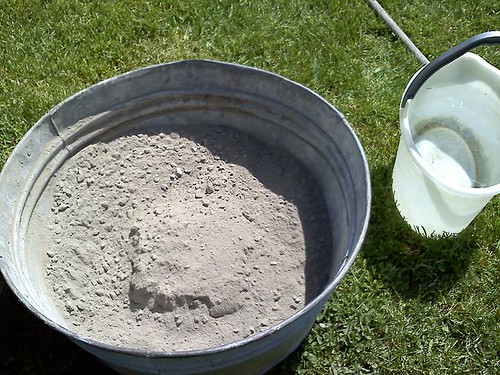
Add the water slowly and mix the cement up well, making sure to dig out the corners and the bottom so it is all mixed to the same consistency.

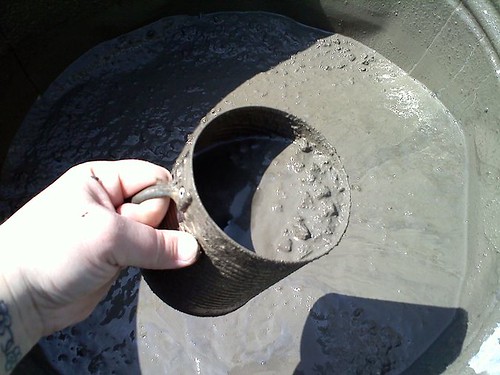
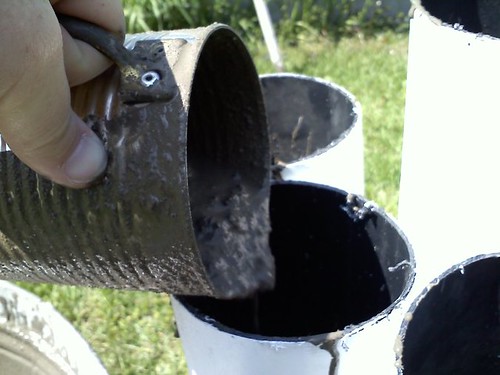
Dad made this scooper by riveting a handle to a can for this project. It works great!
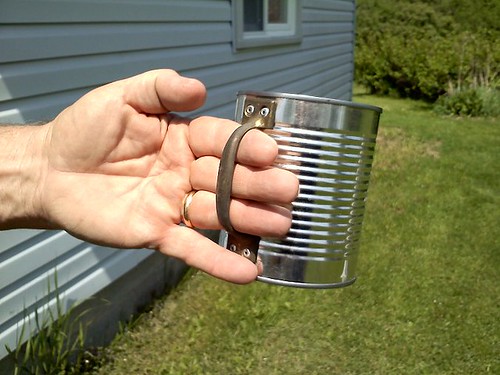
The can is just shy of 4 inches across and we are working with 4 inch pipes, so you can kind of gauge how they are filling as you go.
We went around the group, scooping 1 scoop into each tube, and then the next and so on. That way if we were a little short in the end, they were all still filled to the same level.
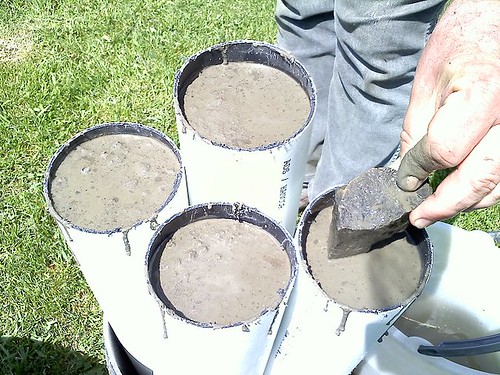
Here they are after using all of the 80 pounds of concrete mix.

To top them off (if you want) Dad added rocks (because as I learned concrete is made of rock) so it will just become part of the same once it cures. After a couple of rocks in each, they are all full.
After this you clean up, and wait. You can rub the concrete dribblings on the outside of the tubes clean with your hands and water. Right now its about 7 hours since I took this picture, and Dad says they are setting up nicely. They should be cured by tomorrow.
Once the concrete is cured, we will clean the pipes and caps and cement them on. To avoid stressing the joints on the tent, we skipped the hanging hooks and went with bungee cords instead. My tent came with large metal foot plates, so the plan is to sit these guys on the foot plates, and secure them each to the tent legs with 2 heavy weight bungee cords. We already tested this to a leg of similar diameter to the tent, and the 24 inch bungees fit just right, wrapping around twice.
I will post new pics once the weights are done and in use, which may be as soon as next weekend (depending on the weather) for our town-wide yard sale.
I hope seeing our process gives you a little more insight in what you want to do for yours!
Huge thanks to my Dad for making this happen :)
Happy crafting!
No comments:
Post a Comment